Outlook is a third-party email application that can be installed to a computer, tablets and mobile devices to check/send/receive emails. You can also manage multiple accounts at once. It can manage all of your accounts like (ie: Hotmail, Gmail, yahoo, live, webmail, etc). This article is intended to those who wants to configure Outlook manually.
To configure/add an email account to Outlook 2016 or 2019 on Windows you may follow steps given blow.
Open Microsoft Outlook
Open Outlook your start menu and go to file section (top left) and click on file section
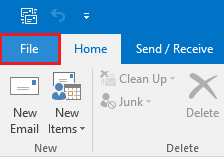
You will see several options in file menu. Click on Add Account.

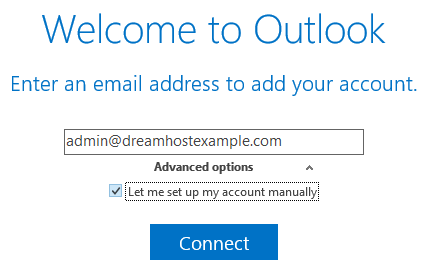
When a window pops up, enter your email address then click Advanced option and check mark then click Connect. If you are trying to add an additional account, click add account.
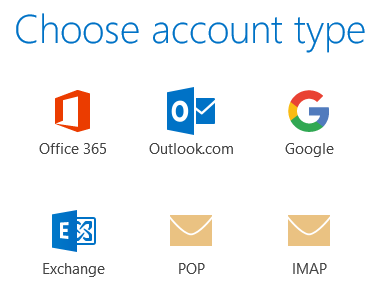
Choose POP
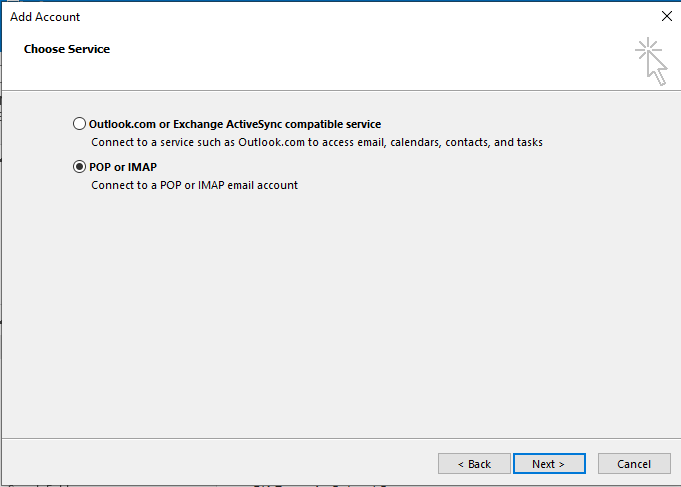
Two types of popups will appear according to your Outlook version. Always select POP, when given the option to choose your provider. This will allow you to set up your outgoing mail server and incoming mail server and click Next.
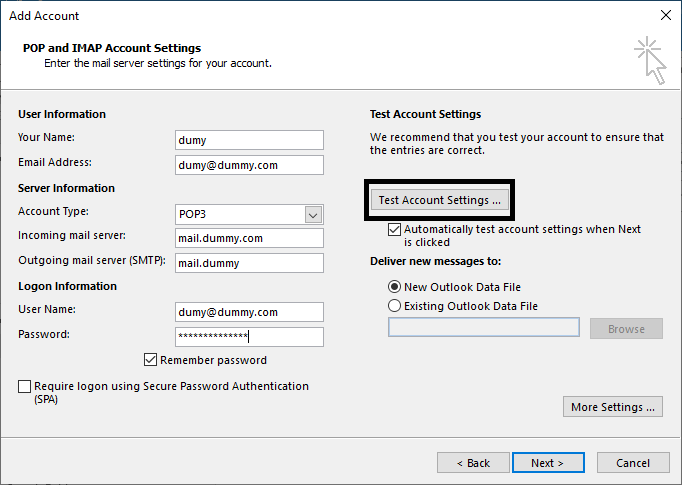
Configure Your POP Settings
Fill in the required details as can be seen below. You can also add existing outlook data file but because you are configuring new email account select New Outlook Data file.
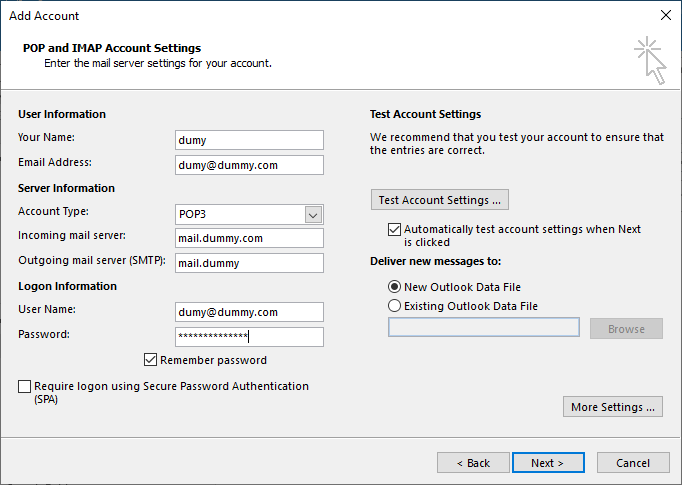
Email Settings
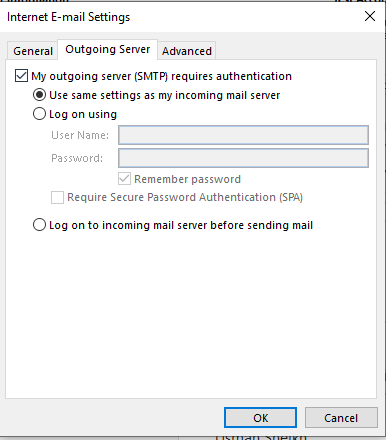
After filling all the required data click on More Settings In the next popup window, navigate to the Outgoing Server tab and tick the box behind “My outgoing server (SMTP) requires authentication”.
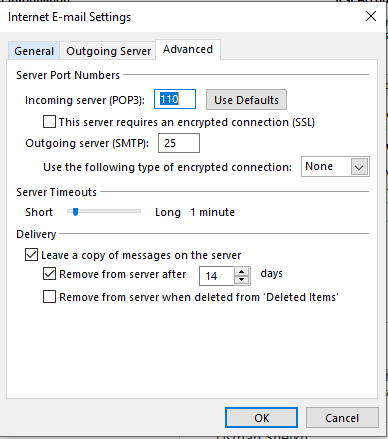
Navigate to the Advanced tab. For unsecured email server, fill in the server port numbers (For incoming server 110 and For outgoing server 25) as seen below, Set Server Timouts as per your convenience then click OK.
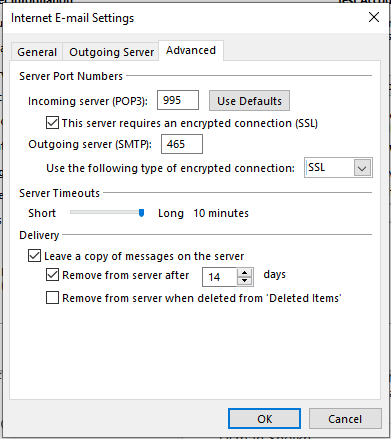
But for the secure server fill in the server port numbers (For incoming server 995 and For outgoing server 465) and encrypted connection as seen below, Set Server Timouts as per your convenience then click OK
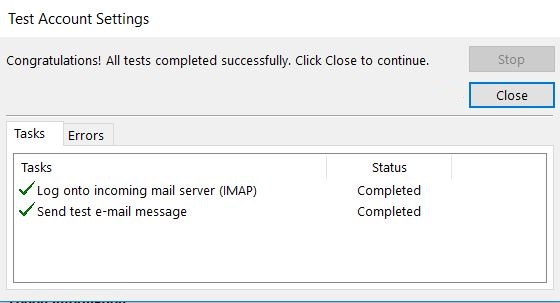
Test Account Configuration
After that you can clink on Test Accounts Settings… to see if things are going well.
If everything is you did is in correct manner it will look like the screen below
Finish Account Setup
Final Step is click on Next> and then click on Finish.
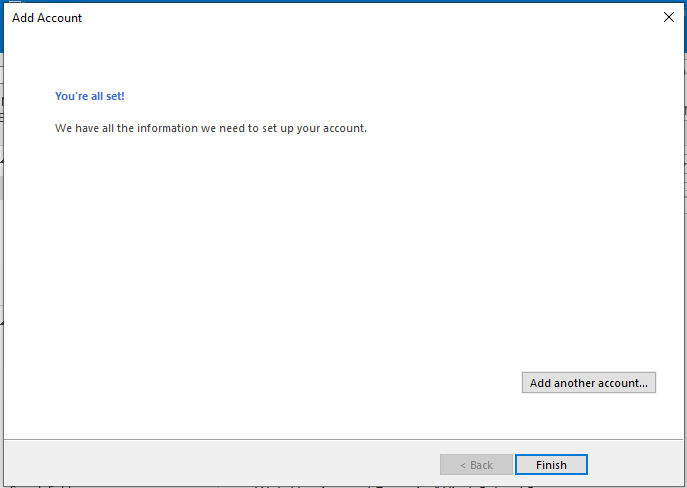
Your Outlook account is configured. Setting up Outlook is not difficult as you might think. The whole process is very simple and straightforward. It will only take few minutes of you time. Keeping above examples in mind, you can configure multiple accounts in Outlook.